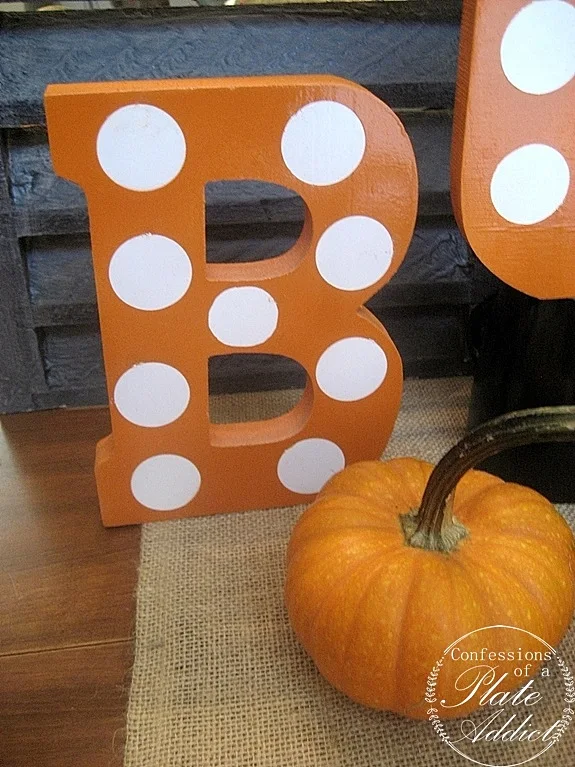
I've got a super-easy DIY to share with you and I am excited because it's going to be part of my Halloween mantel! It's coming together bit by bit and I can't wait to show it to you when it's finished. I know it's going be my favorite Halloween mantel ever! But in the meantime, I am sharing the components as I finish them.
Here's what you will need:
- Wooden letters thick enough to stand alone. Mine came from Hobby Lobby and were on sale.
- Round stickers that are not quite as wide as the letters. Mine came from Hobby Lobby and were also on sale. :-)
- White spray paint
- Orange spray paint
- Newspaper or plastic to protect the surface where you will be spray painting
Here's what you will do:
- Place the letters on the newspaper or plastic and spray paint them with several light coats of white. Thicker coats tend to run. Allow to dry thoroughly after each coat.
- Place the stickers on the letters in the desired pattern. Smooth them down to make sure they have adhered.
- Spray the letters with the orange paint. Once the front has dried completely, turn the letters over on a fresh piece of plastic or newspaper and spray the back and sides. Let them dry thoroughly and remove the stickers. TIP: Use a small brush and, working with paint you have sprayed on a paper plate, touch up any missed spots or nicks from removing the stickers.
And here's a final look! I have already tried them out on my mantel and I love them! Now to get to work on the rest of my Halloween mantel project so I can share it with you. My goal was to have it ready by October 1st so I had better get busy!
And just in case you missed it, here's the POTTERY BARN INSPIRED BAT WREATH that I made for the mantel. I already have it up with the lights set to come on every night with a timer. What fun! Now to add the finishing touches so I can share the whole mantel with you. Stay tuned!
Remember to pin it!
Also find me at…
You may unsubscribe at any time by clicking on the link at the bottom of the email.
Click HERE to read my Privacy Policy.


No comments:
Post a Comment
Thanks so much for stopping by and taking the time to comment! I appreciate my wonderful readers!... Debbie