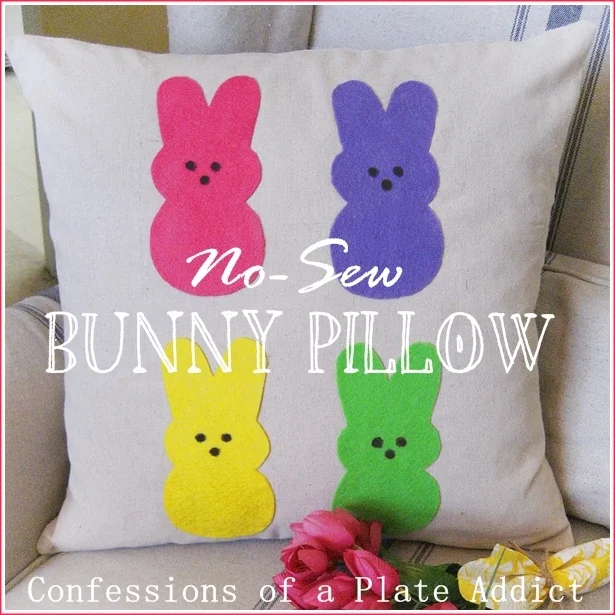
Here's what you will need:
- A purchased pillow cover (Mine came from Hobby Lobby)
- Felt squares in the colors of your choice
- A print-out of the bunny pattern found here. I used Photoscape (a free download) to print them at 5" x 7" and that seemed to be the right size.
- Permanent fabric adhesive
- Black Sharpie pen (not pictured)
- Wax paper (not pictured)
Miss Iris says that putting it all together is so easy that the kiddos can help!
Here's what you will do:
- Using the bunny pattern, cut out four bunnies from the felt.
- Using the Sharpie, place a small dot where you want the eyes and nose to go.
- Using a careful circular motion, make the eyes and nose the size that you want.
- Insert a piece of wax paper inside the pillow cover to prevent the adhesive from coming through to the back side.
- Position the bunnies where you would like them to go on the pillow.
- Cover the back of each thoroughly with the fabric glue and smooth them in place. The adhesive will dry clear so don't worry if it's a little messy.
- Allow to dry thoroughly.
Now just add the pillow insert and that's it! Aren't they cute? I love the fun colors!
I'm working on a few more Easter-y projects and I'll be sharing them soon so stay tuned!
Remember to pin it!
Also find me at…


No comments:
Post a Comment
Thanks so much for stopping by and taking the time to comment! I appreciate my wonderful readers!... Debbie