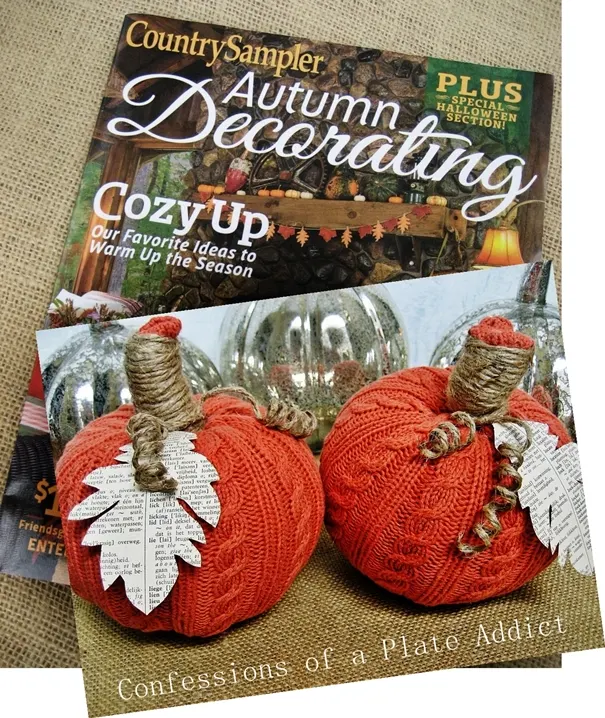
 Here’s all you need…an old sweater, a faux pumpkin and some jute twine…that’s it! If you like, you may also add leaves made from old book pages.
 The sweater came from Goodwill for about $4.00. It seems that Kitty approves of the color as much as I do! Hey…she’s sporting black…the other half of the Halloween colors, after all! A cable knit seems to work best for me. I just like the look.
 1. Start with a faux pumpkin…mine came from Dollar Tree...and carve out the stem. You will not need it since you are making your own.
2. Slide the pumpkin into the sleeve of the sweater from the inside, position it just below the ribbing and tie it off with jute twine. Leave the ball of twine attached.
3. Starting at the bottom, wind the twine around the sleeve, tightening it as you go. Wind all the way to the end of the sleeve and then go back down. Secure by tying the ends and cut them off.
4. Make the tendrils by coating some of the twine with Mod Podge and wrapping it around pencils. Secure it on one end with straight pins through the erasers. Leave the tendrils attached to each other as one long piece of twine since you will be tying them around the stem. Let them dry 15 or 20 minutes or so and then slip the pencils out. Reshape them if needed and let them finish drying. Don't let them dry completely on the pencils or they will stick!
5. (Not Pictured) Cut the sleeve away at the bottom of the pumpkin and sew closed by first using a gathering stitch, pulling the ends together as you go, and then securing with a few more stitches. This part is not going to show since it will be on the bottom.
 Tie the tendrils around the stem and adjust the curls if needed.
 If you like, add leaves cut from an old book page. Mine was an old dictionary, so little “veins” were already in the middle.
 And that’s it! So far I have made two, but I have a feeling that more sweater pumpkins are in my future!
Remember to pin it!
Also find me at…
You may unsubscribe at any time by clicking on the link at the bottom of the email.
Click HERE to read my Privacy Policy.


Debbie,
ReplyDeleteCongratulations on the magazine feature. Your projects are always so cute and so professional looking! Plus, you have easy-to-follow directions for creating our own versions.
Judith