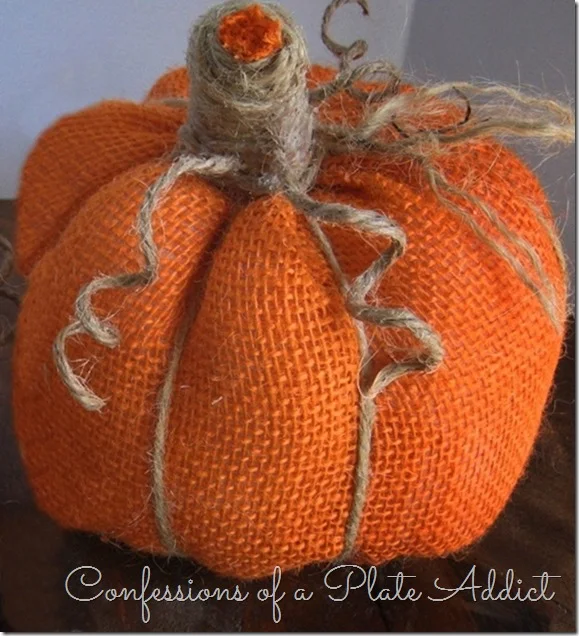
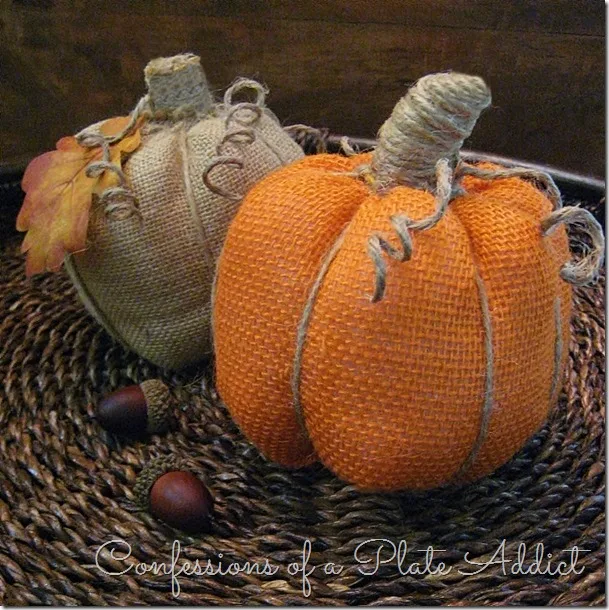
 Fall arrives on September 1st for me so even though it's 95 degrees here in Georgia, I am adding a touches of it to my home! And since real pumpkins are nowhere in sight yet, I am using my favorite pumpkin creations to cover until the real deal arrives. One of my favorites is my burlap pumpkins! Not only do they more than stand in, they add lots of color and texture as well! Soooo....I thought I would re-share my instructions for making these easy little guys while we wait for those pumpkin trucks (I always imagine that's how it works! lol) to arrive! :-)
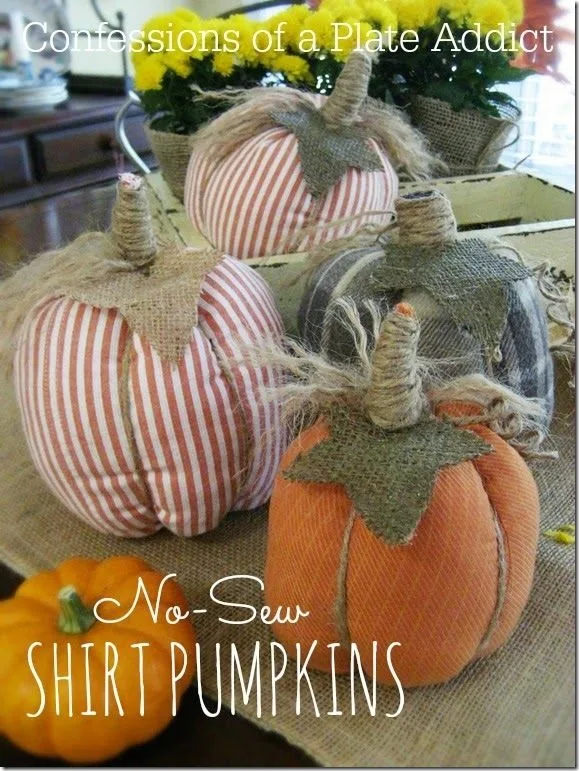
 If my burlap pumpkins look a little familiar, it’s because I made them much the same way that I made my NO-SEW SHIRT PUMPKINS. And although only minimal sewing is required for the burlap version, you can use an alternate no-sew method for them, too!
 Here’s what you will need:
- Burlap
- Jute twine
- Polyfill stuffing
- Rubber bands
- Mod Podge
- Pencil
- Aluminum foil
- Faux leaves if desired
 And here’s what you will do:
1. Cut a piece of burlap that is 16 x 12 inches. Stitch the two 12 inch sides together to create a sort of sleeve and press the seam open. (ALTERNATE NO-SEW METHOD: Join the two 12 inch sides, right sides together, with a strip of Heat n Bond or similar heavy duty hem tape, and press the fold to one side.) Cut 6 pieces of jute twine a little longer than 16 inches and knot them together.
2. With the burlap sleeve still inside out, place the twine bundle inside with the knot protruding from one end.
3. Secure the end of the sleeve with a rubber band, leaving the knot still protruding.
4. Turn the sleeve right side out and stuff with polyfill.
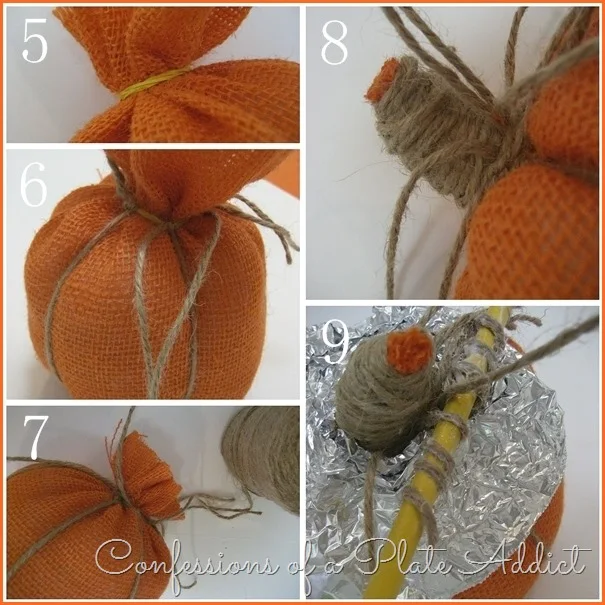
 5. Close the other end of the sleeve with a rubber band.
6. Bring the jute strands up one at a time, pulling rather tightly to create the pumpkin sections. Tie each one around the rubber band. Space them as evenly as possible as you work until all 6 have been tied.
7. Leaving the twine attached, tie a tight knot around the top of the pumpkin, covering the rubber band. Now you can pull on the fabric to smooth out the pumpkin and even up the sections. Once you are satisfied, cut the protruding fabric to about 1 1/2 inches in length.
8. Tightly wrap the twine around the fabric to create a stem, leaving the six original strands at the bottom of the stem. You will wind the twine up and then back down and tie it off with the other end and cut.
9. Now you can now work on forming the tendrils. First cover the pumpkin top with aluminum foil to protect it. Then take several of the 6 original pieces of twine (I usually use three), coat them with Mod Podge and wrap them around a pencil. Allow it to set for about 10 minutes and then remove the pencil so that the twine will not be stuck to it. You can gently reform the tendrils to dry if needed. I like to separate the remaining 3 strands to create a sort of corn silk look or you can simply cut them off, being careful to leave the knot. If you choose to do this, be sure to coat the knot with additional Mod Podge so that it will not come undone. Allow the Mod Podge to dry.
 If you wish, you can add leaves with a bit of hot glue for a little more of a fall look. And…taaa daaa!…they are now ready to add to your fall decor! I love the texture of the burlap and the twine!
 And for more ideas, be sure to check out 10 WAYS TO GET A HEAD START ON FALL…easy ideas for adding a touch of fall to your home!
Remember to pin it!


This is a great tutorial, you inspire me to make my own pumpkins! ~Loni
ReplyDelete