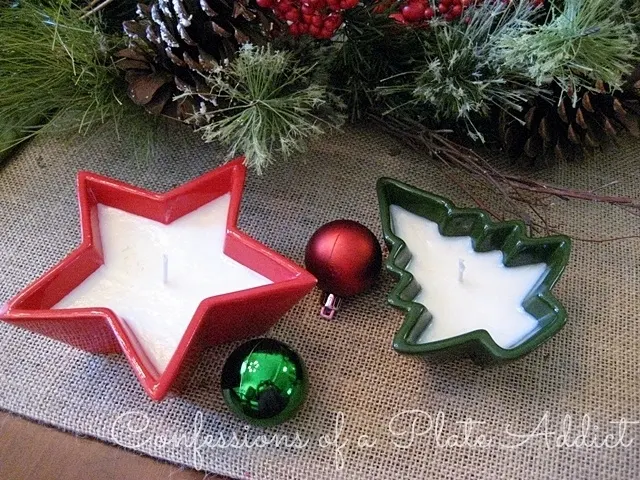
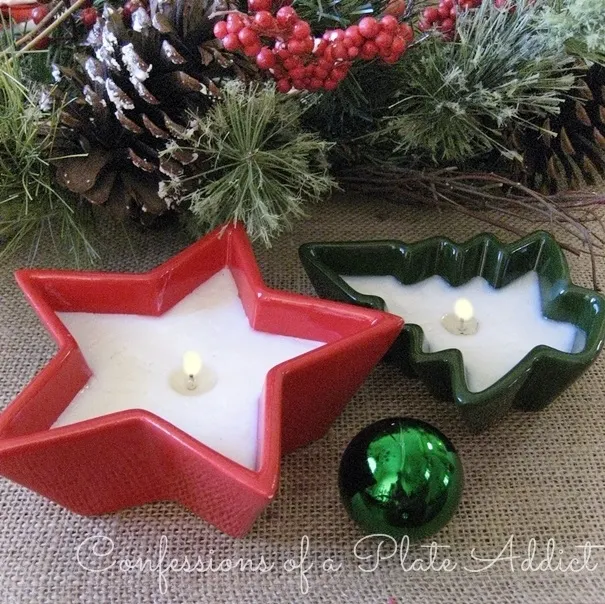
I'm excited to share my project today because it's a fun little part of the Christmas tablescape I'll be showing you soon! Can you see what direction I am headed? Yes...lots of traditional red and green! And if you know me, you know it was inexpensive! Actually, the final cost of these candles was just over $2.00 each! Woo hoo! And I love the way they turned out!
The little Christmas dishes are from Target's Dollar Spot aisle and were only $3.00 for a set of two! There were also snowflakes, but since I am going for red and green, I chose the stars and trees.
Here's what you will need:
- Small heat safe containers (You don't have to use the ones from Target. They just fit my theme.)
- Candle wax (I used tealights from Dollar Tree. They are much less expensive than wax chips or blocks. The number that you need will depends on the size of your container.)
- Candle wicks tall enough to fit your container. (If your container is shallow, you could reuse the wicks from the tealights. I needed taller wicks and purchased mine from Hobby Lobby.)
- Clean and dry tin can
- Metal cookie cutter
- Saucepan
- Water
- Bamboo skewers
And here’s what you will do:
- Remove the tealights from the metal containers. Remove the wick by pulling it from the back.
- Place the metal cookie cutter in the bottom of a pan. Add water to the top of the cookie cutter and bring to a boil. Turn down to a simmer, place the can on top of the cookie cutter and add the wax portion of the tealights. Allow them to melt and remove the pan from the heat. (IMPORTANT: Never leave the wax unattended. Always be sure there is sufficient water in the pan. Use caution when working with hot wax as you could be burned if you come into contact with it. Additional tips for melting wax can be found HERE.)
- Place the wick in the bottom of the container. Break a bamboo skewer in half and place it across the container, sandwiching the wick between the two halves to keep it in place.
- Once the wax has melted, carefully pick up the can using hot pads and pour the melted wax into the candle container. I did this in two steps...allowing the wax to cool some between pourings so that the wick would be stable. Allow to cool completely before handling.
Once they have cooled completely, cut the wicks to an appropriate length. And...taa daa!...they are ready for use! Aren't they fabulous? And you can't beat the cost!
I love the festive color and the warmth that they add to my Christmas tablescape! I actually made eight of them I loved them so much! And...stay tuned because I will be revealing it very soon!
And don't forget to come back to see my finished tablescape! My house is all decorated now and I'm excited to share it with you!
Remember to pin it!
Also find me at…


So cute. Can't wait to see the table.
ReplyDelete