It's been a while since I have created anything using one of my favorite methods...découpage. I have to say that I love the way it transforms even the most ordinary of things into works of art! So when my friend LuAnn shared some of her stash of beautiful paper napkins with me, I knew it was time to dabble in découpage again. And...I have a few secrets I will share while I am at it!
Here is what you will need:
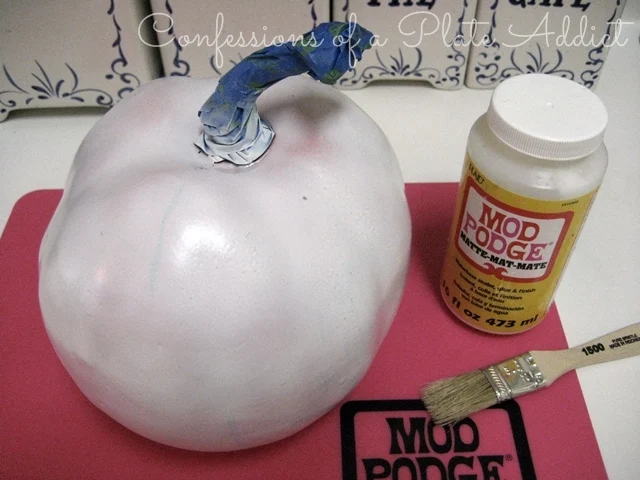
- Paper napkins in a pretty pattern (I used two for my pumpkin. A larger pumpkin would require more.) Hint: A small pattern is much more forgiving and does a better job of hiding the places where the pieces are joined.
- Scissors
- A faux pumpkin, preferably white or you can spray paint it as I did (If you paint it, cover the stem with painter's tape first.)
- Mod Podge
- A small brush
- Paper or a Mod Podge mat to protect your work surface
And here is what you will do:
- Cut the napkin into strips approximately 1 1/2 inches wide and the length of one side of the pumpkin top to bottom
- Cut the ends into points to avoid having too much paper at the top and bottom of the pumpkin.
- Using the brush, paint the pumpkin with Mod Podge in an area a little larger than the paper strip.
- Using your fingers, carefully apply the paper strip and then work with the brush dipped in a generous amount of Mod Podge to attach it, smoothing it as much as possible as you go. Try not to use your fingers at this point since the paper will stick to them.
- You may find that you have to cut a few horizontal slits part way through the paper to allow it to fit the curve of the pumpkin.
- Work until you have covered the entire pumpkin. At the end, you may have to use smaller pieces to fill in all the way.
- Allow the pumpkin to dry for about 15 minutes or so and then, picking it up by the stem, use a hair dryer on a warm setting to help it along.
- At this point it will be more "touchable" and you can use quick motions of the palm of your hand to press it smooth.
- Don't be concerned if you have a few wrinkles. That's what gives découpage its character!
- Allow to dry completely overnight.

And just in case you are interested, here are my COUNTRY LIVING INSPIRED PUMPKINS, which were also created using découpage! Note that these are a little different and perhaps easier since I didn't cover the whole surface on two of them and used the pumpkin itself as the background.
Happy découpaging!
Remember to pin it!
Also find me at…


Thanks so much for the instructions on how to decoupage pumpkins. I used to love to decoupage different items. But have not made anything in a long time. Will have to start again.
ReplyDeleteHave a terrific week. The pumpkins look great.
Mary
Oh wow!!! I would of never thought of decoupage pumpkins but oh so precious Thank you for sharing with us
ReplyDeleteGORGEOUS and you make it look so easy , I might try this
ReplyDelete