


 Here’s a Christmas idea for you that’s super-duper fun and easy…and doesn’t cost a lot, either! It’s my salt shaker snow globes! They would make cute handmade gifts or just add a loop of jute twine or ribbon to the top and…taa daa… you have a unique ornament!
  My co-host Baby Kitty is busy unpacking the boxes and finishing up the Christmas decorations. He’d better hurry…it’s almost Christmas! Sooo…I guess I will be going it alone…
 Here’s what you will need:
- A pair of salt shakers (I found these cute round ones at Walmart)
- Some festive ribbon (Mine came from Michael’s)
- Teeny tiny ornaments (These came from Hobby Lobby…a set of 8 in the miniature tree section)
- Faux snow (or you could use Epsom salt) Remember…these are waterless snow globes!
- Hot glue gun
- Tweezers
- Make sure the ornament can be inserted in the shaker. (Hint: Leave the little string on for this process since you will have to pull it back out.)
- Cut the string off of the ornament and then add a generous amount of hot glue to the bottom of the ornament. (Be careful not to get burned…ouch!)
- Using the tweezers, insert the ornament into the shaker. If possible, insert your finger into the shaker to position it and press down to hold it in place.
- Add a small amount of faux snow…you don’t want to cover up too much of the ornament.
- Replace the top, tie the ribbon and hot glue it into place.
- You may also add a little decorative embellishment if you like.
 And…taaa daaa!…here it is! I like the way this one is round! :-)
  And here’s another look at the pair…love them! They are going to be so festive on my kitchen table! And…they were so easy and inexpensive to make!
Don't forget about our Handmade Christmas blog tour!
The Scoop will be sharing twenty-five bloggers' ideas for creating a handmade Christmas that will inspire you!
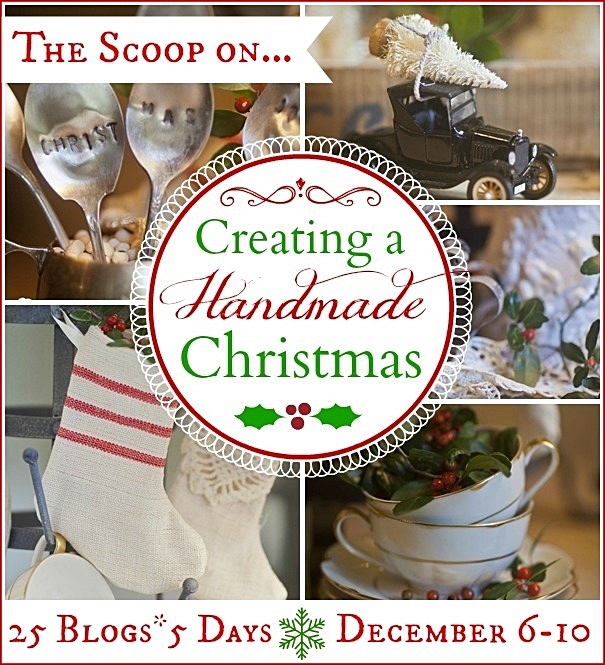
Here's the schedule for The Scoop on Creating a Handmade Christmas:
Friday December 6
Saturday December 7
Sunday December 8
On Sutton Place * Lilacs & Longhorns * Confessions of a Plate Addict * Town and Country Living * Hymns & Verses
Monday December 9
Tuesday December 10
Cedar Hill Farmhouse * Unskinny Boppy * Botanic Bleu * Atta Girl Says * Dio Home Improvements
Please be sure to check them all out! I will be looking for you on Sunday, December 8th, when it will be my turn to share! So mark your calendars!
Remember to pin it!

Thanks for stopping by! I hope you enjoyed my salt shaker snow globes! Please visit these wonderful bloggers and their beautiful blogs to see what they are up to and to find a list of this week’s participants!
Under the Table and Dreaming for the Sunday Showcase Party , Between Naps on the Porch for Metamorphosis Monday , The Stories of A2Z for Tutorials and Tips Tuesday , Coastal Charm for Nifty Thrifty Tuesday , A Stroll thru Life for Inspire Me Tuesday , My Uncommon Slice of Suburbia for Tuesday's Treasures, Savvy Southern Style for Wow Us Wednesdays , The Shabby Creek Cottage for Transformation Thursdays , No Minimalist Here for the Open House Party on Thursdays, French Country Cottage for Feathered Nest Friday , Common Ground for Be Inspired on Fridays , The Charm of Home for Home Sweet Home Friday , Craftberry Bush for the Inspiration Gallery on Friday
See you next time! À la prochaine!
Also find me at…


Debbie, those are too cute! And so is Baby Kitty! I wondered where he had been hiding. Now I know!
ReplyDeletexo
Sheila
That's very cute - I could see that in my kitchen. (:
ReplyDeleteOh, I LOVE these. They're darling and so easy. If Baby Kitty has finished decorating at your house, please send him over here. I need help with the tree. :)
ReplyDeleteHi Debbie! These are just adorable and I absolutely love them! Visiting from the Golden Sycamore. This is such a wonderful idea and thank you for sharing. Pinning! Hope you have a happy Friday and a merry weekend. :)
ReplyDeleteHi Debbie, Your salt and pepper shakers are really very, very cute. In fact they are really darling and cute. Now I have to see if I have a pair of shakers stuffed in a drawer somewhere (I probably do, somewhere). Thank you for this tutorial, I am sure there are going to be a lot of people out there in blogland making these little cuties next week.
ReplyDeleteCandy
I love them...so cute! Very creative idea.
ReplyDeleteBesos from Argentina!
Silvina
I really appreciate when you tell us where you purchased your supplies! love your ideas.
ReplyDeleteHow cute!
ReplyDeleteSherry
I will definitely be making these next year! Thank you for sharing.
ReplyDeleteThese are just precious, Debbie....I was looking for a project for a group to do and this will be it!
ReplyDeleteJP